• Home
  • About
  • group work
  • On -site milling of timber
  • tree work
  • planks for sale
  • hedgelaying
  • Work Examples
  • Blog
  • Contact
Menu

Devon Wood Works

  • Home
  • About
  • group work
  • On -site milling of timber
  • tree work
  • planks for sale
  • hedgelaying
  • Work Examples
  • Blog
  • Contact
jigsaw.jpg

stool making

September 18, 2018

First step is select the wood and the shape for the top of the stool, then jigsaw it out. Or use a frame saw as the handtool option

Next step is smoothing, using a beltsander, grinder and drill sanding attachment, or as shown here a spokeshave as the handtool option

Next step is smoothing, using a beltsander, grinder and drill sanding attachment, or as shown here a spokeshave as the handtool option

use 6 coins to mark the stool into equal thirds, and measure in about 3” on each line from the edge of the top to mark out the positions for the three legs

use 6 coins to mark the stool into equal thirds, and measure in about 3” on each line from the edge of the top to mark out the positions for the three legs

Next use an adjustable bevel to help you to drill 1” diameter holes at the same angle.  The picture shows the holes being drilled from the underside of the stool top, angled so that the stool legs splay outwards

Next use an adjustable bevel to help you to drill 1” diameter holes at the same angle. The picture shows the holes being drilled from the underside of the stool top, angled so that the stool legs splay outwards

This step involves splitting and smoothing 3 legs, then drying the legs unless one uses already dry wood for the legs.  The wood must be dry because once the 1” tennons are cut on the end of them using the electric drill and tenon cutter (a tool lik…

This step involves splitting and smoothing 3 legs, then drying the legs unless one uses already dry wood for the legs. The wood must be dry because once the 1” tennons are cut on the end of them using the electric drill and tenon cutter (a tool like a giant pencil sharpener) there must be no shrinkage which would affect their jointing into the stool top.

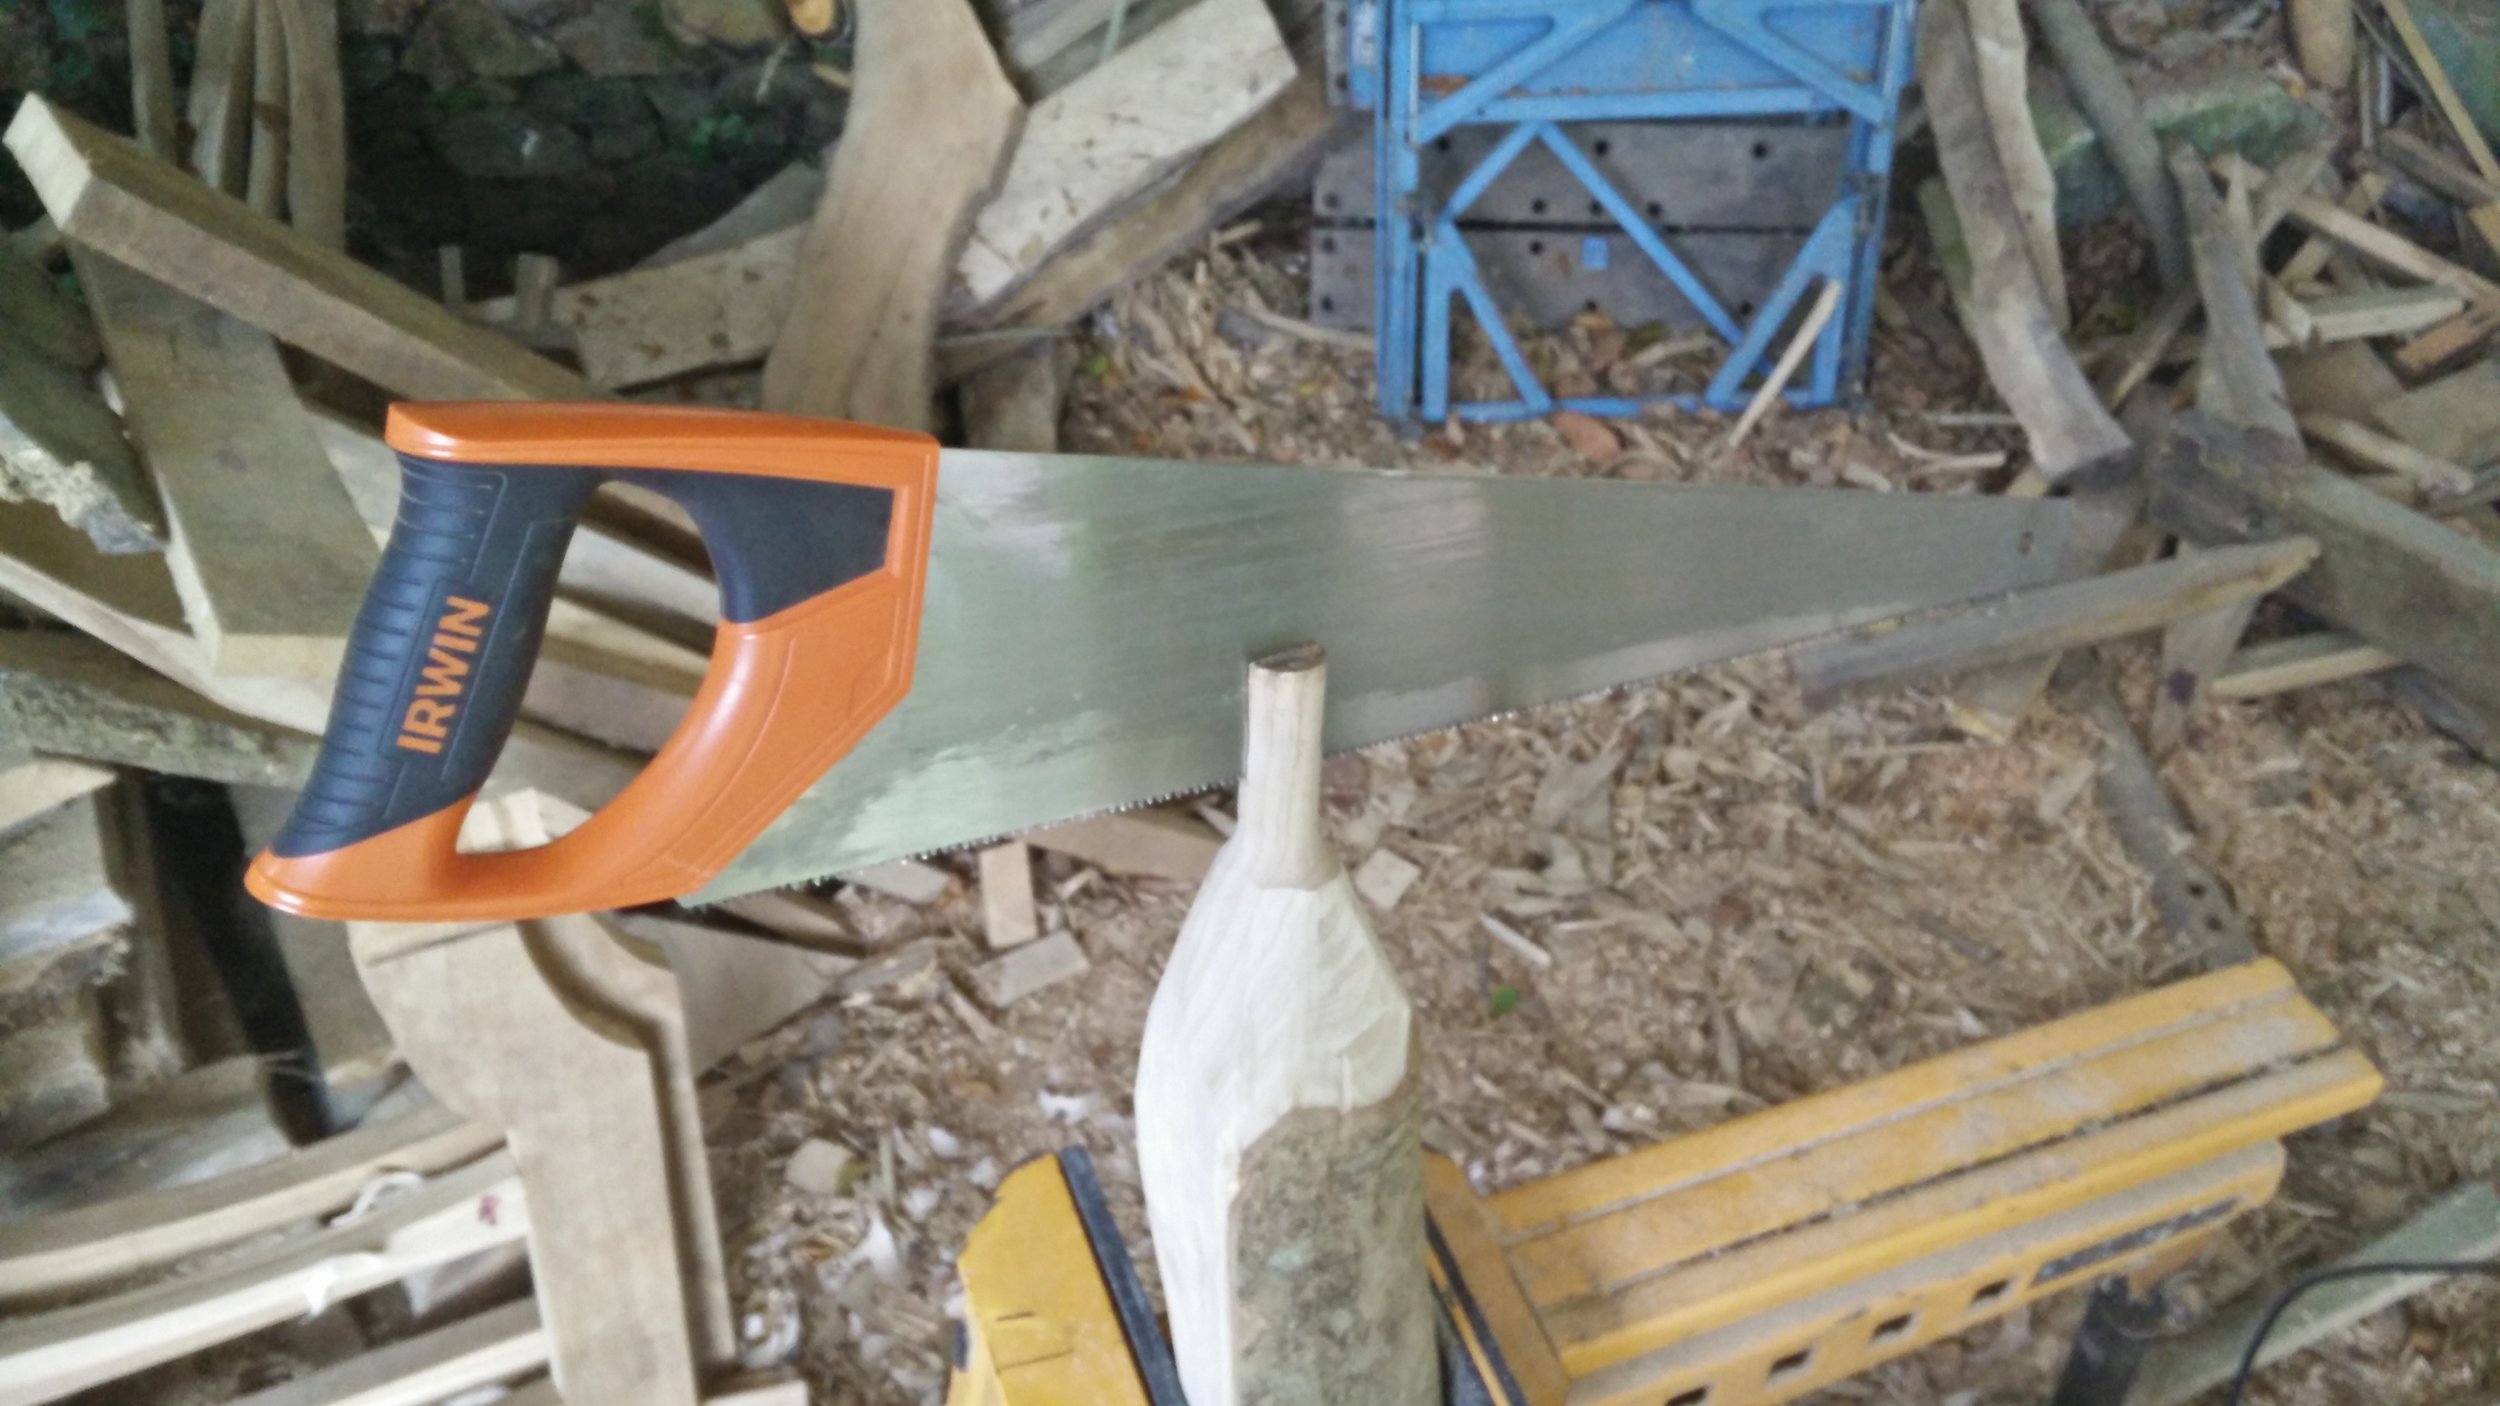
Insert the legs into the holes you drilled into the stool top.  Mark a line accross the top of the tenon crossways to the grain of the stool top.  Now cut down this line the depth of the stool top depth.

Insert the legs into the holes you drilled into the stool top. Mark a line accross the top of the tenon crossways to the grain of the stool top. Now cut down this line the depth of the stool top depth.

Now as if by magic the stool will appear perfect and finished!  What I didnt show was fitting stretchers and wedging the legs into the stool top. This is quite an involved process and I got so caught up in it I didnt take any photos.  Next time!

Now as if by magic the stool will appear perfect and finished! What I didnt show was fitting stretchers and wedging the legs into the stool top. This is quite an involved process and I got so caught up in it I didnt take any photos. Next time!

← Compost baysFolding Japansese Origami Shavehorses →

Latest & Greatest

Blog
Bridge building
about a year ago
Bed project
about a year ago
Barn owl boxes
about a year ago
Portable shelter
about a year ago
Making a fold away toddler kitchen
about a year ago

Powered by Squarespace